
In this blog post, I am sharing how I set up my email with Kit (ConvertKit), as a new blogger with no money needed, and how I created my lead magnet, how to create and add your first freebie and start growing your email list.
This is done in a few hours, and you don’t need to do anything else about it after it’s done, but it’s important you do it before you post, because you want to add these lead magnets in all your blog posts.
When I was a teenager, I never understood why someone would give me amazing templates for free, but now i open my Gmail as a blogger, and I get it.
Give to get is one of the oldest rules in the book of time, in the blogging world it’s a freebie, no one pays, but the currency is trust.
So, I will show you how to:
- Create a professional email address for your blog
- Create a form to capture emails
- Create a freebie and connect it to the form
- Create an email sequence
- Create your first email automation
Let’s start by showing you my own lead magnet and then I’m gonna take you step by step.
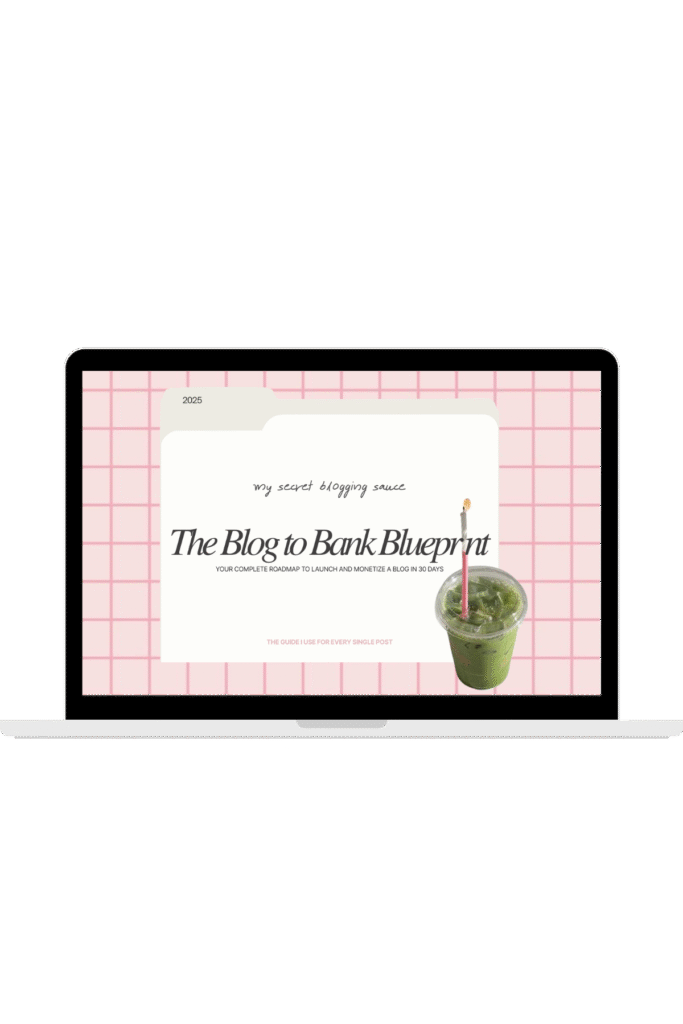
Free download
Ultimate Guide to Blogging
I created my lead magnet with ConvertKit after lots of research on email platforms for bloggers. Kit offers free use of the platform up to 10,000 subscribers in your email list.
This is perfect because as a new blogger, you really don’t need to spend money on email yet, with 0 blog posts posted you are not earning yet, and if you reach 10,000 subs, you probably can afford it, what a win-win.

All you have to do is click on Kit’s logo above or just on the Sign-Up Button, and then click on Pricing and here you will see the Newsletter plan. Now, all you have to do is sign up there for free.

Once you create an account, you can create a form, which is the lead magnet that readers will sign up for, the sequence that follows (what happens after someone leaves their email in the form) & the whole automation (you can set emails to be sent after days, so you set it up once and then it’s pretty passive after)
In this guide, I am showing you everything I did, so let’s continue now to creating a freebie, before we create the form.
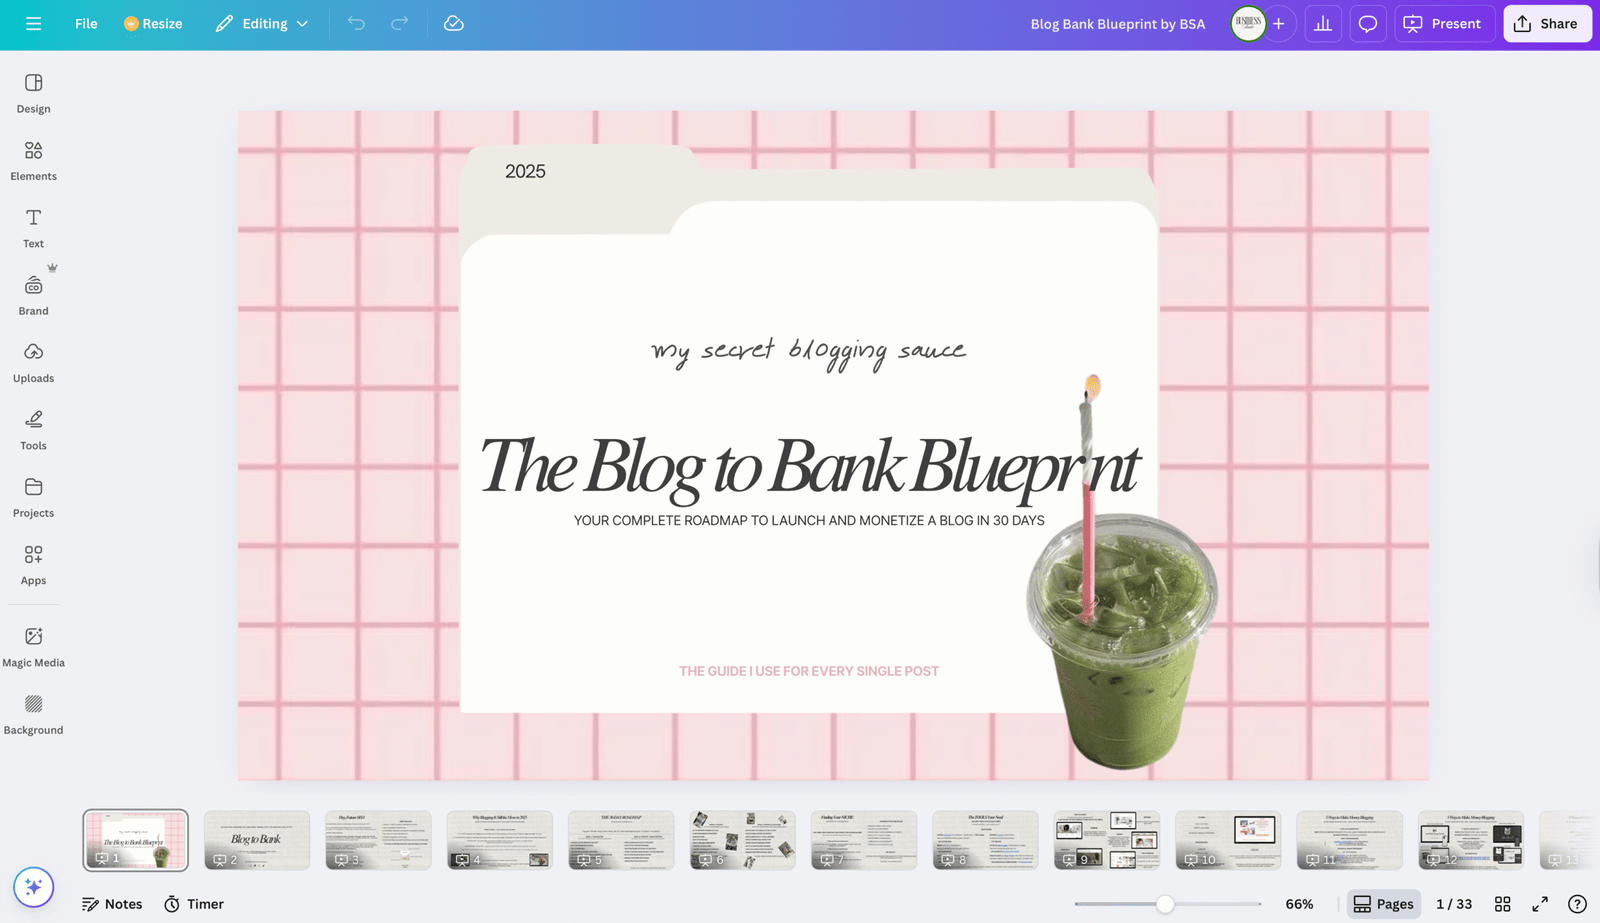
I created my freebie in Canva.
Canva is truly always in one of my open tabs every day, from blog posts later on repurposed on all social media, to my digital products and creating pins, there are thousands of templates, and it’s the most convenient and fun app.
After I created my freebie, I downloaded it as a PDF Print, I also created a template link for it, and I uploaded the freebie to Google Drive.
Why a template link? Template links allow whoever has the link to access and edit your digital goodie.
Okay, now that I have my freebie and I have an account on Kit, let’s log in and create a form.
Creating a Form on Kit
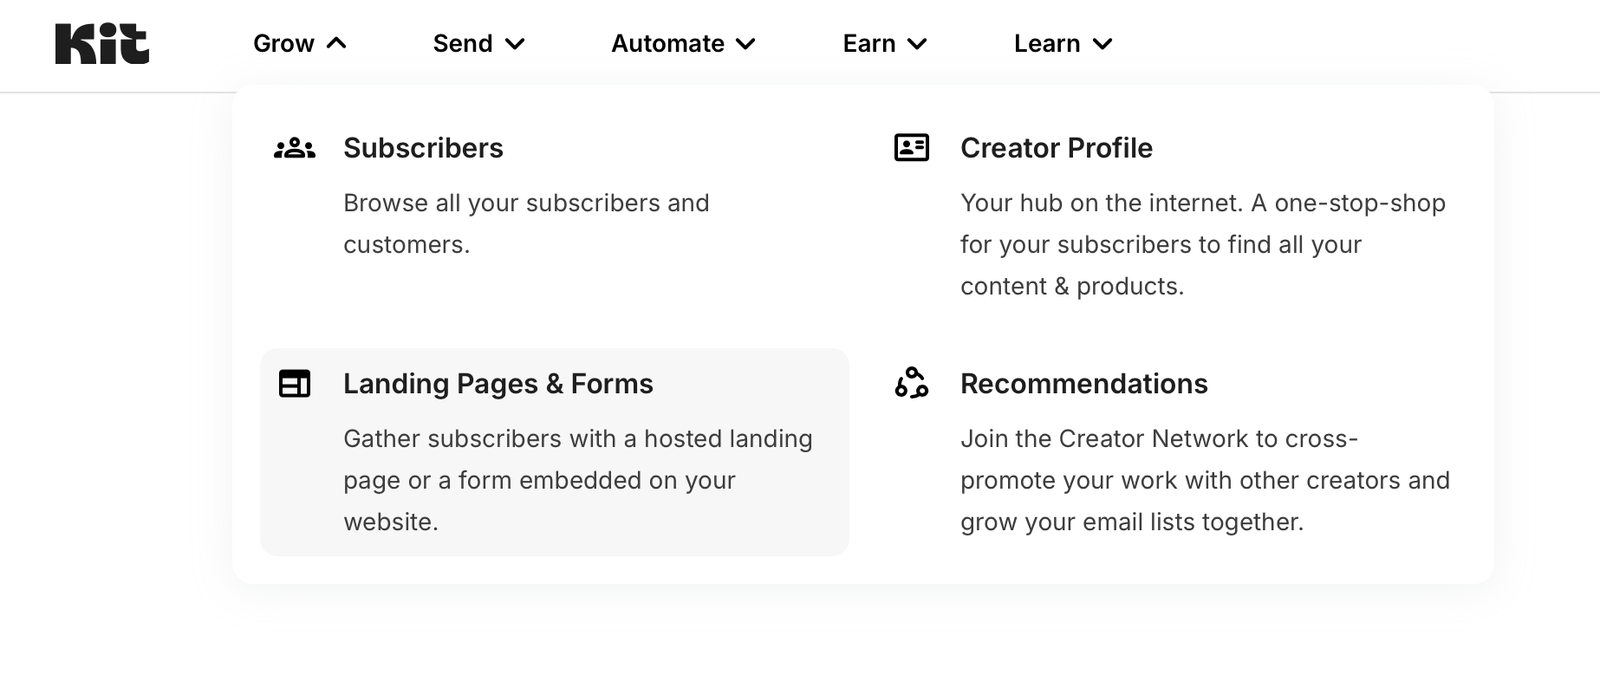
click on grow
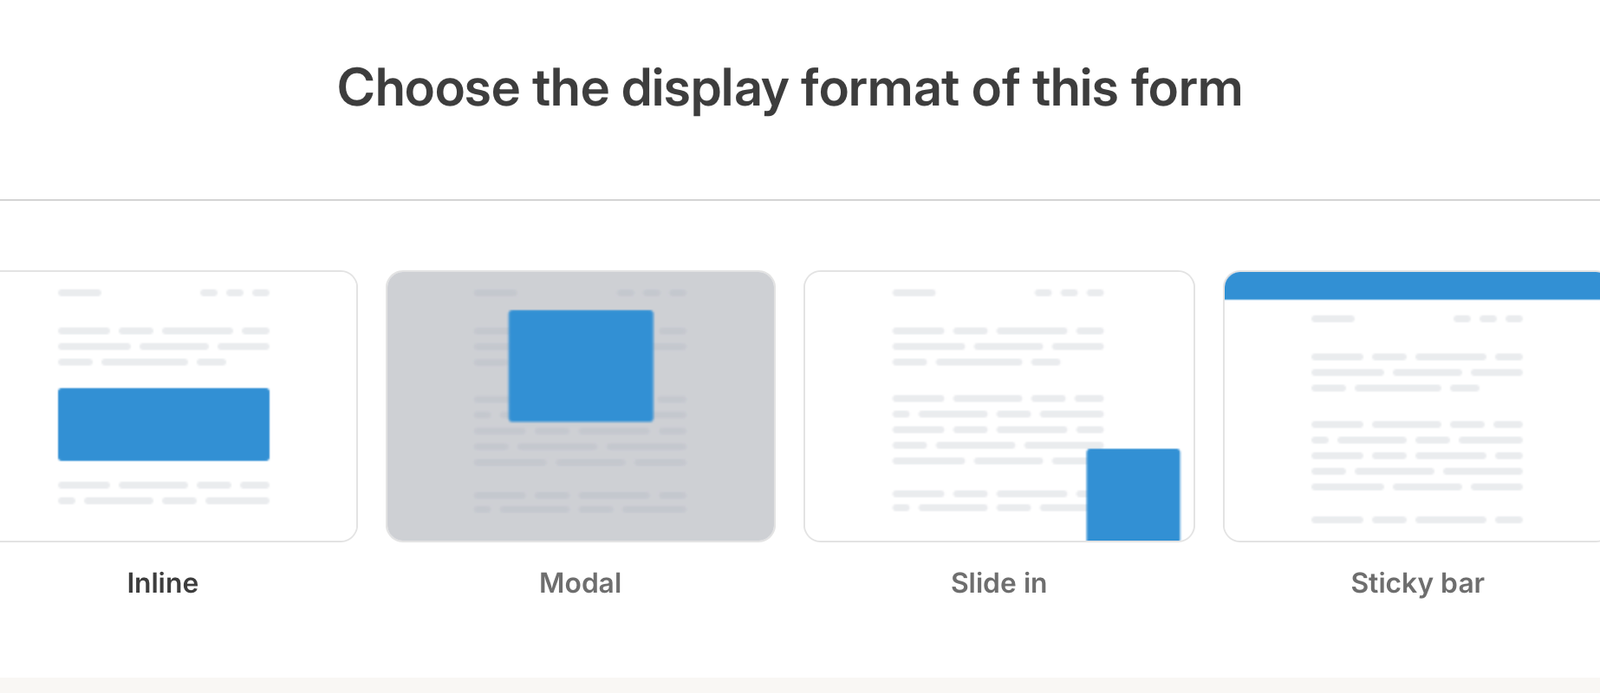
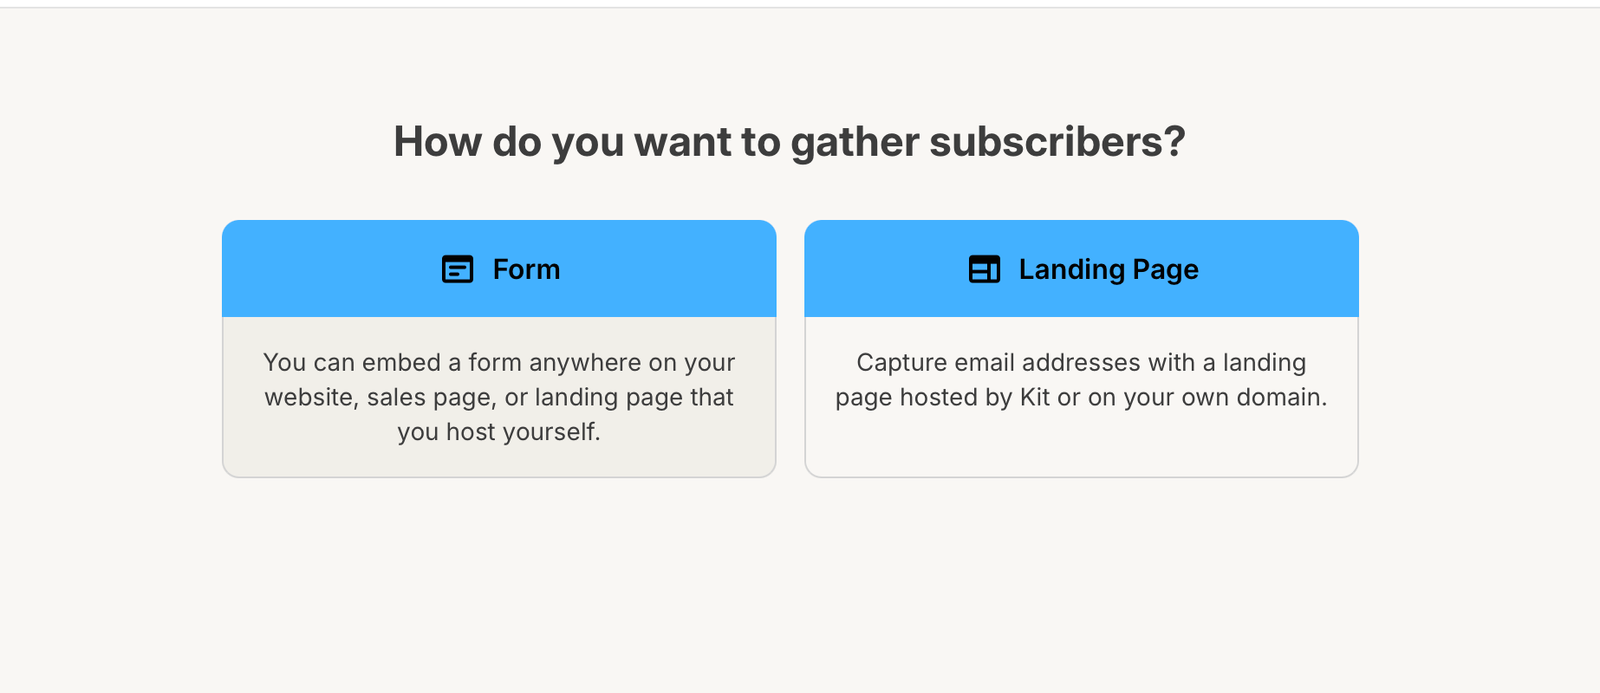
choose how you want your form to display
Inline
I have mine as Inline, because I want it inside all of my blog posts, but feel free to do your research and experiment.
click on
Landing Pages & Forms
Kit has done for you templates for everything email community related.
there are bunch to choose from
Pick a Form Template
After you click on Inline, Kit will open a page full of form templates, and all you need to do is pick one and edit it to your liking.
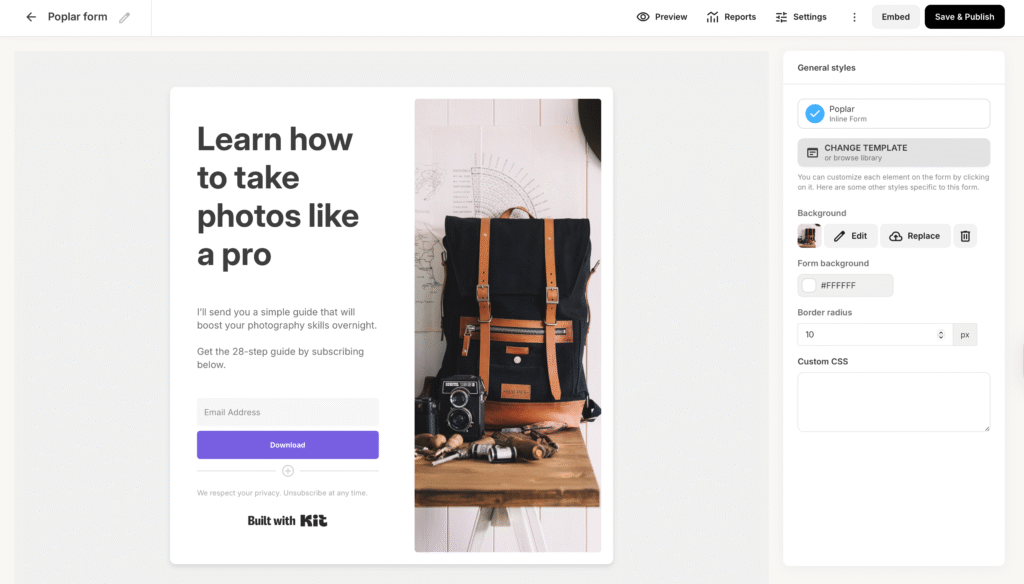
Make sure to name the form.
Then the next task is to connect the form with the freebie – someone signs up and leaves an email and they get an email with the freebie.
- Open Kit again
- Click on Send
- From the Send dropdown, pick Sequences
- Pick a simple email or edit a template
- In the template there is a section to upload a pdf
- Upload your freebie + add the template link too by adding a link button as well
Make sure you set your sequence email to be sent immediately after someone leaves an email in the form so there is no delay for your subscribers.
Test it out, and you’re good to go.
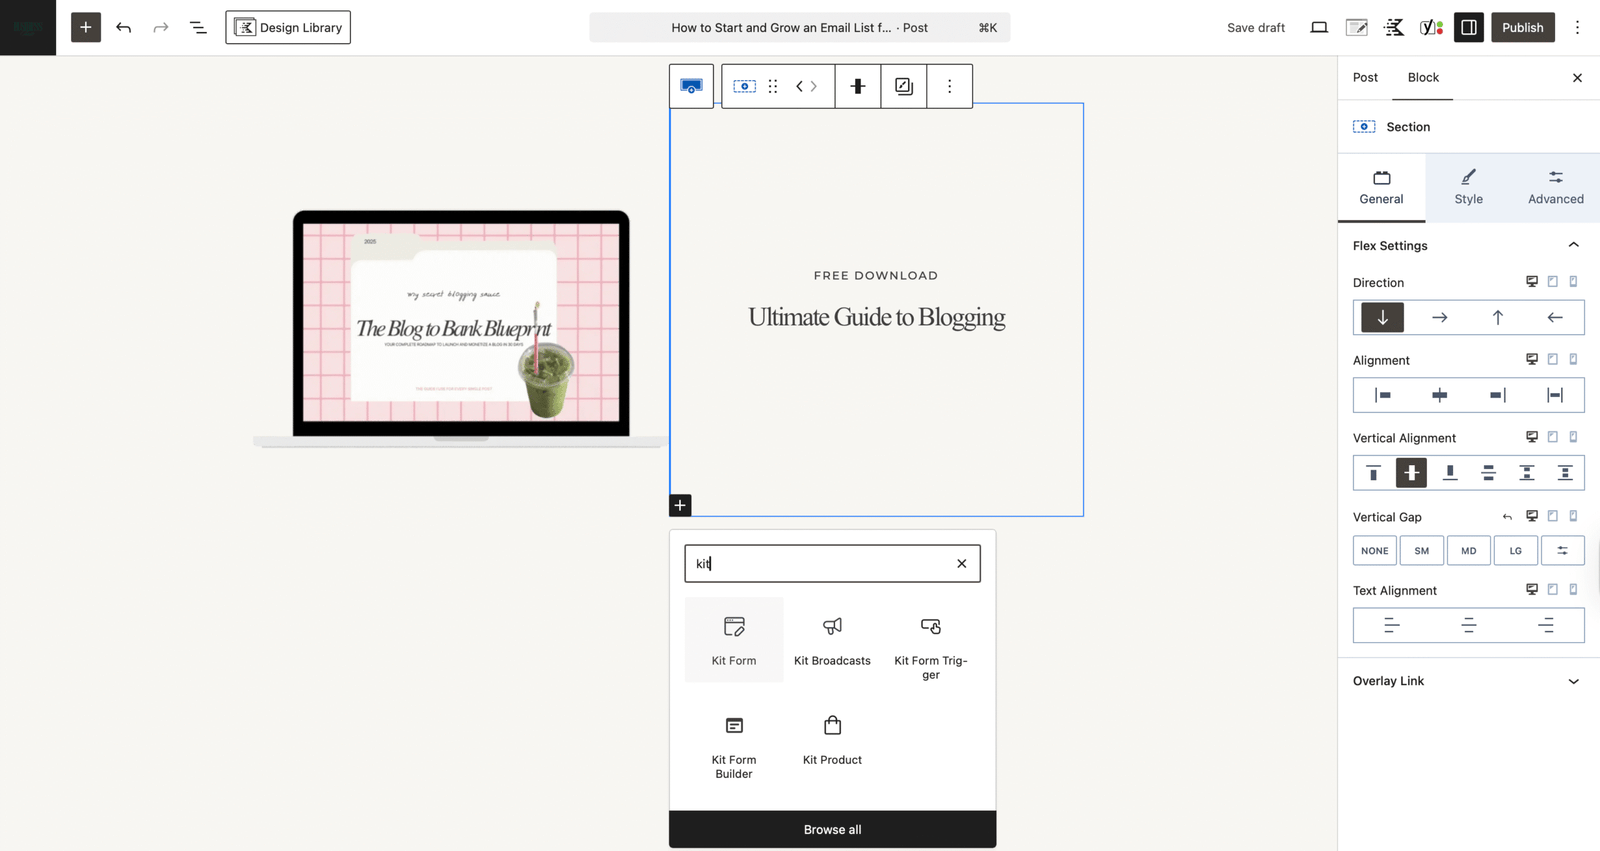
How to connect the form with your blog:
I use 17Ave Designs, and all I have to do is download a Kit plugin on WordPress, which allows me to add the form anywhere I want on my website with just one click. (I am not sure about other themes, but i think as long as you have the plugin, you’re good)
*If not, Kit also allows you to embed the form anywhere too (super easy).
This is how that looks like:
Once i click on Kit, on the right side i just pick which form i want to add from Kit (I only have one – Blog Bank)
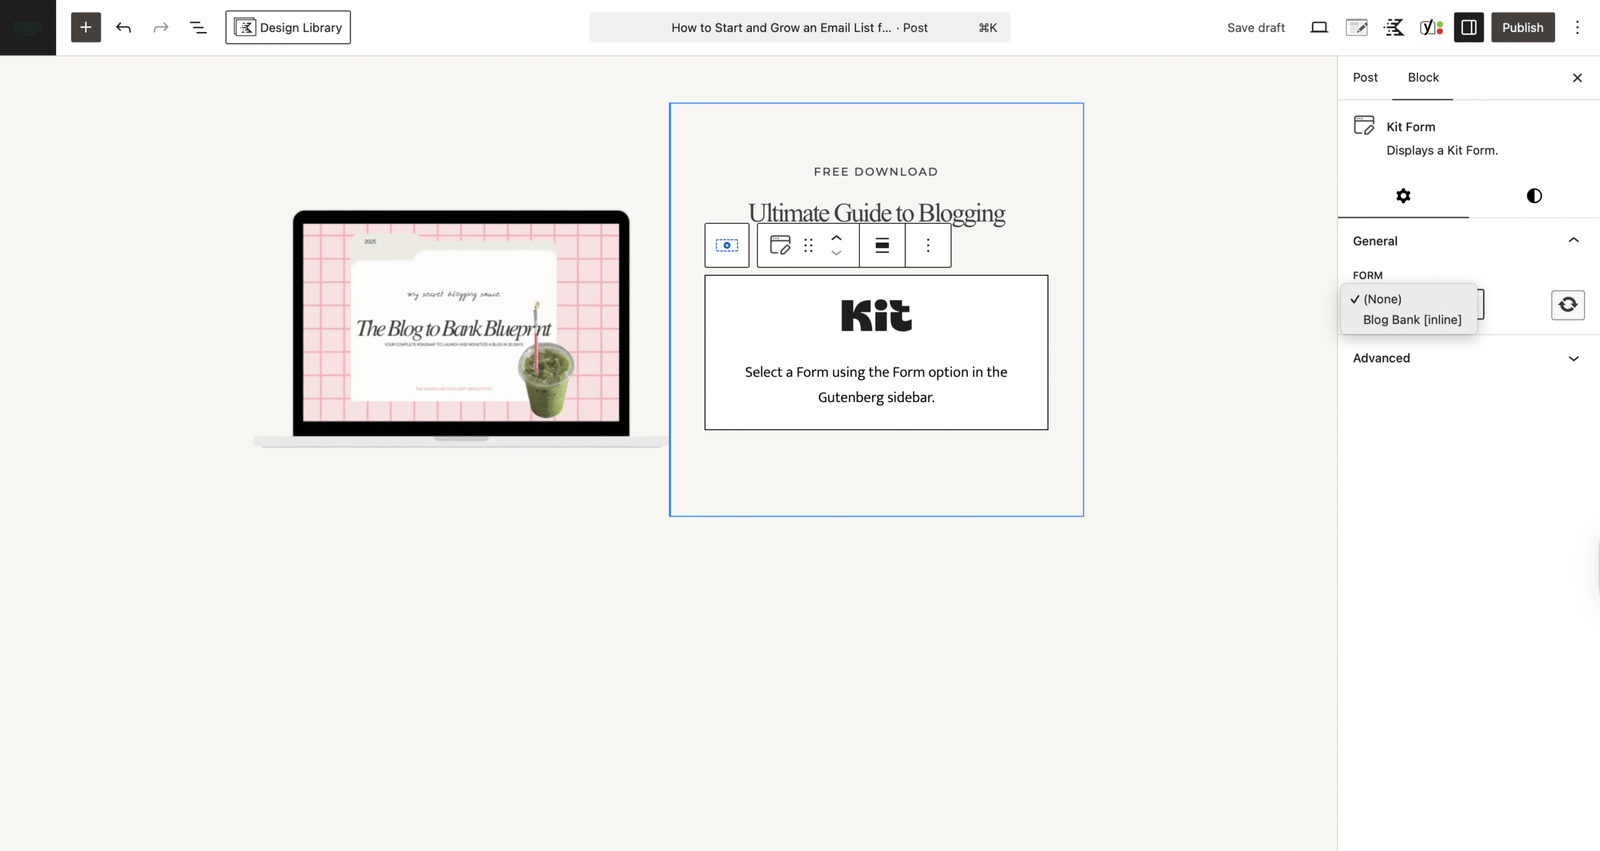
So easy, right? Can’t wait to see what you create.
I am so proud of you for spending 30 minutes creating this instead of doom scrolling and saving videos about email marketing for later, it gets easier task by task. Good luck with your blog!
Feel free to reach out to me for any questions about creating an email form with Kit.